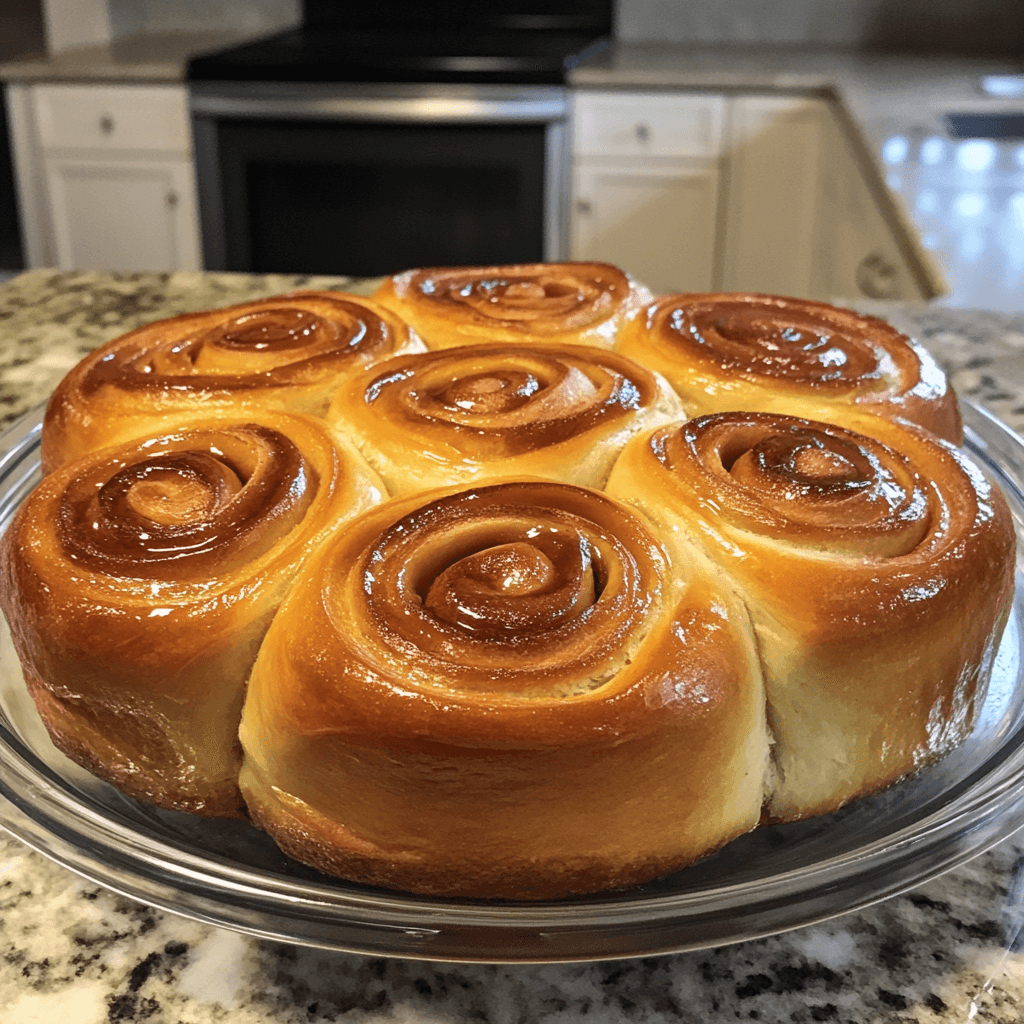
The process of creating these teHomemade sourdough buns offer a unique flavor and texture that store-bought alternatives can’t match.The process of creating these tender, crusty buns at home may seem daunting, but with the right guidance, it’s achievable for bakers of all levels.nder,
Making sourdough buns from scratch allows you to control the ingredients and the fermentation process, resulting in a more complex flavor profile. This article will walk you through a simple sourdough buns recipe, covering the basics of sourdough starter maintenance, dough preparation, and baking techniques.
Key Takeaways
- Learn the basics of maintaining a sourdough starter for homemade buns.
- Understand the process of preparing dough for tender, crusty buns.
- Discover tips for achieving the perfect bake.
- Explore variations to customize your buns.
- Gain confidence in making sourdough buns from scratch.
The Magic of Homemade Sourdough Buns Recipe
The allure of homemade sourdough buns lies in their unique flavor and texture. Unlike their commercial counterparts, these buns are crafted with love and care, using a natural starter culture that imbues them with a depth of flavor and a tender crumb that is hard to achieve with commercial yeast.
As Jeffrey Hamelman, a renowned baker, once said, “The beauty of sourdough lies in its complexity and its unpredictability.” This complexity is part of what makes sourdough buns so special. The natural fermentation process not only contributes to their distinctive taste but also to their nutritional profile.
What Makes Sourdough Buns Recipe Special
Sourdough buns are made using a natural starter instead of commercial yeast. This starter culture is a mixture of wild yeast and bacteria that ferments the sugars in the dough, producing lactic acid and creating the characteristic tangy flavor of sourdough.
The fermentation process also breaks down some of the gluten, making sourdough a potentially more digestible option for those with gluten sensitivities. Moreover, the slower fermentation time allows for a more complex development of flavors, resulting in a more nuanced and satisfying taste experience.
Health Benefits of Sourdough
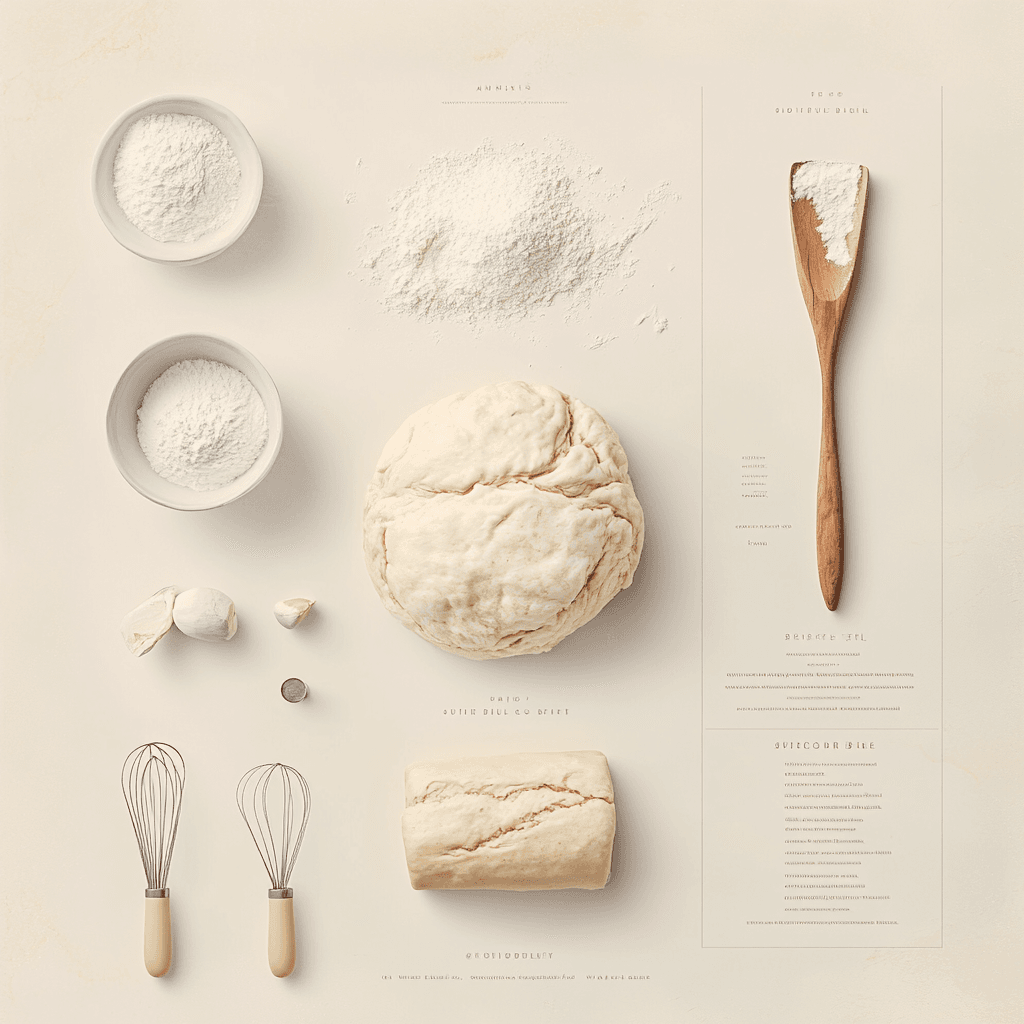
Sourdough buns recipe,offer several health benefits due to their unique fermentation process. The lactic acid produced during fermentation can help to break down phytates, making the nutrients in the bread more bioavailable. Additionally, sourdough contains beneficial probiotics that can support gut health.
As Dr. Vanessa Kushi notes, “Sourdough is a great example of how traditional food preparation methods can enhance nutritional value.” The slower digestion rate of sourdough can also help to regulate blood sugar levels, making it a better choice for those monitoring their glucose intake.
Essential Ingredients for Perfect Sourdough Buns
To make easy sourdough buns, it’s crucial to start with the right ingredients and a healthy sourdough starter. The quality of your ingredients directly impacts the final product, making it essential to understand what each component brings to your buns.
Understanding Your Sourdough Starter
A sourdough starter is the heart of your sourdough buns, providing the natural yeast and bacteria needed for fermentation. Maintaining a healthy starter is key to achieving that perfect rise and flavor.
Feeding Schedule Before Baking
Before baking, your sourdough starter should be fed regularly to ensure it’s active and bubbly. A typical feeding schedule involves refreshing your starter once a day, depending on the temperature and environment.
Signs of a Healthy, Active Starter
A healthy starter should be bubbly, have a slightly sour smell, and double in size after feeding. These signs indicate that your starter is ready to leaven your sourdough buns effectively.
Flour Selection and Quality
The type of flour used can significantly affect the texture and flavor of your sourdough buns. High-protein flours are generally preferred for sourdough as they provide better structure and rise.
Additional Ingredients and Their Purpose
Besides flour and sourdough starter, other ingredients like salt, water, and sometimes sugar or fats are added to enhance flavor and texture. Salt, for instance, controls yeast activity and adds flavor, while water hydrates the dough.
Understanding the role of each ingredient helps in making informed decisions when adjusting recipes or troubleshooting issues with your sourdough buns.

Equipment You’ll Need
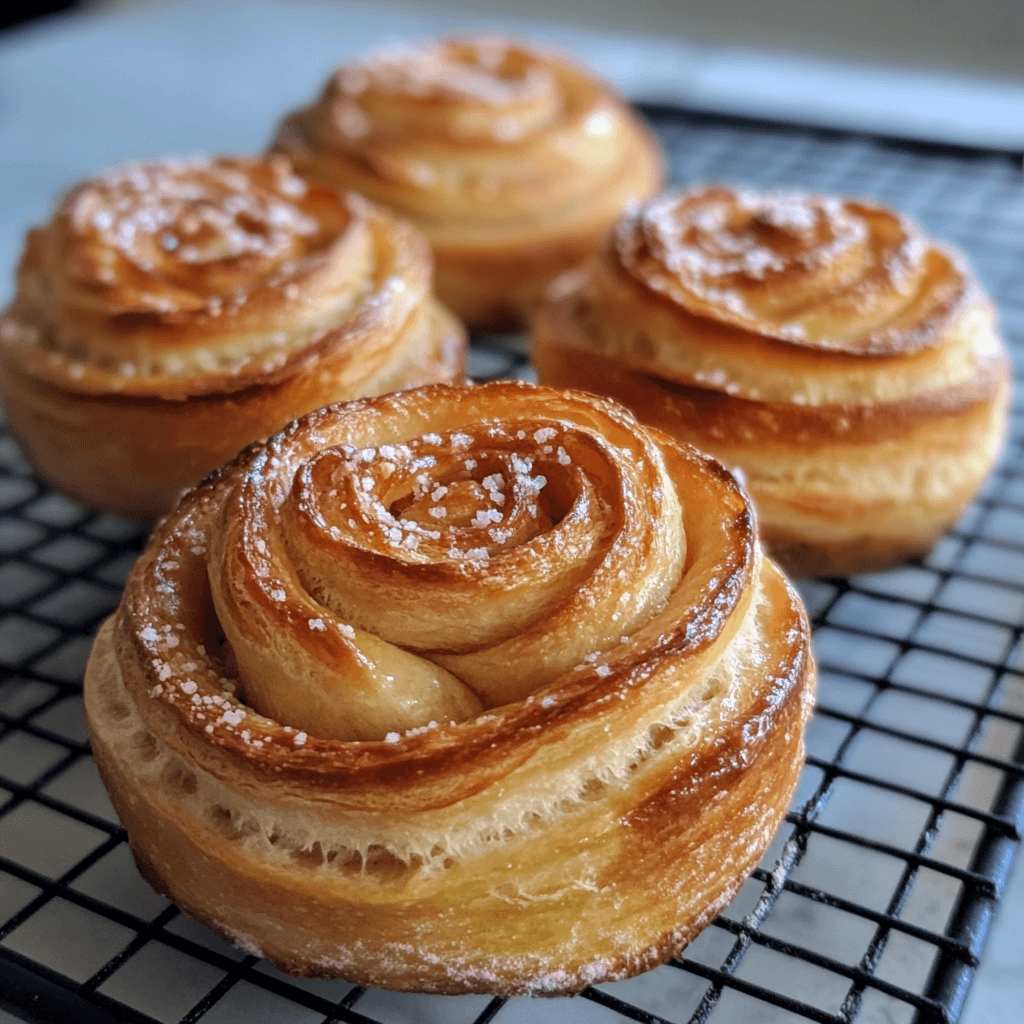
The journey to perfect sourdough buns from scratch begins with gathering the right baking equipment. To ensure a smooth baking process, it’s crucial to have the necessary tools on hand.
Basic Tools for Sourdough Baking
To start, you’ll need some basic tools. A mixing bowl is essential for combining your ingredients. A dough scraper helps in handling the sticky dough, while a digital scale ensures accurate measurements. You’ll also need a baking sheet or proofing basket to prepare your buns for baking.
Optional Equipment for Better Results
For better results, consider investing in optional equipment. A dough proofing box or a temperature-controlled environment can help maintain consistent fermentation temperatures. A banneton or proofing brotform can aid in shaping and proofing your buns, giving them a professional finish. Using these tools can enhance your sourdough buns from scratch baking experience.
Sourdough Buns Recipe: Step-by-Step Process
Embarking on the journey of making sourdough buns from scratch is a rewarding experience that combines art and science. This step-by-step guide will walk you through the process, from preparing your ingredients to achieving perfectly baked buns.
Ingredient Measurements and Preparation
To start, it’s crucial to have all your ingredients measured and ready. This includes your sourdough starter, flour, water, salt, and any additional ingredients you wish to include. Accuracy in measurement is key to achieving the right dough consistency.
| Ingredient | Quantity |
| Sourdough Starter | 100g |
| Flour | 500g |
| Water | 350g |
| Salt | 10g |
Mixing and Initial Dough Development
The process begins with mixing your ingredients. The autolyse method, which involves initially mixing just flour and water, can enhance dough development. After a short rest, you incorporate the sourdough starter and salt.
Autolyse Method
Mix flour and water until just combined, then let it rest for 20-30 minutes. This step helps in hydrating the flour and initiating the breakdown of starches.
Incorporating the Starter
After autolyse, add the sourdough starter and salt. Mix until the dough comes together in a shaggy mass, being careful not to overmix.
Stretch and Fold Technique
The stretch and fold technique is crucial for developing the dough’s strength and structure. Perform this action every 30 minutes for the first few hours.
- Gently stretch the dough in one direction.
- Fold it back onto itself.
- Rotate the dough and repeat.
This process helps in distributing the yeast evenly and developing gluten.
“The beauty of sourdough lies in its simplicity and the complexity of its flavor profile.”
Unknown
Overnight Fermentation Guide
After the initial mixing and dough development, the dough is left to ferment. This overnight process allows the sourdough starter to fully develop the dough’s flavor.
- Place the dough in a lightly oiled bowl, covered.
- Let it ferment at room temperature for a few hours.
- Then, transfer it to the refrigerator to slow down fermentation.
By following these steps, you’ll be well on your way to creating delicious sourdough buns that are sure to impress.
Shaping and Proofing Your Sourdough Buns
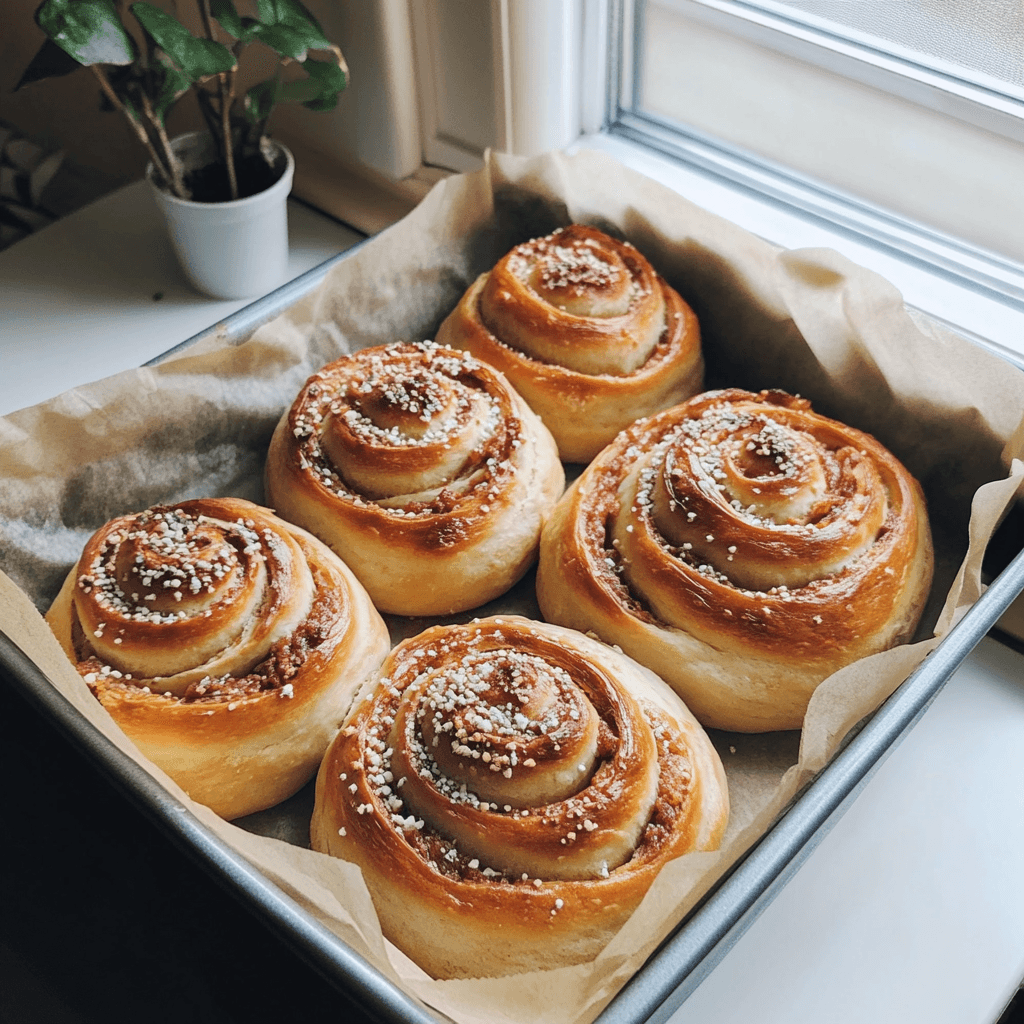
To achieve tender, crusty sourdough buns, mastering the shaping and proofing process is essential. This stage is where your dough transforms into beautifully formed buns, ready for the oven.
Dividing and Pre-shaping the Dough
The first step in shaping your sourdough dinner rolls is dividing the dough into equal portions. This ensures uniformity in size and baking time. Gently pre-shape these portions into rounds or oblong shapes, depending on your desired bun style.
Pre-shaping is a preliminary step that helps in creating tension in the dough, which is crucial for the final shape. Let the pre-shaped dough rest for a few minutes before proceeding to the final shaping.
Final Shaping Techniques
For the final shaping, you can either form the dough into tight, smooth balls for round buns or gently stretch and fold the dough for more rustic, oblong shapes. The technique you choose depends on the texture and appearance you desire for your sourdough dinner rolls.
Tips for Smooth Buns:
- Use a bench scraper or a sharp knife to gently cut the dough.
- Handle the dough gently to avoid developing too much tension.
- Place the shaped buns seam-side down on a baking sheet or proofing basket.
The Final Rise: How to Tell When They’re Ready
The final proof is a critical step where your shaped sourdough dinner rolls relax and rise, developing flavor and texture. The proofing time can vary based on factors like temperature and the strength of your sourdough starter.
To determine if your buns are ready, gently poke the dough; if it springs back slowly, it’s ready. Visually, the buns should have expanded and look lighter in color.
| Proofing Stage | Visual Cue | Touch Test |
| Underproofed | Little expansion | Snaps back quickly |
| Ready | Expanded, lighter color | Slow spring back |
| Overproofed | Very large, may collapse | Does not spring back |
As noted by expert bakers, “The key to perfect sourdough dinner rolls lies in the balance between shaping and proofing.” This balance ensures that your buns are not only delicious but also visually appealing.
“The art of bread making is not just about following a recipe; it’s about understanding the process and respecting the dough.”

Baking Perfect Sourdough Buns
The final step in creating delicious sourdough buns involves baking them to perfection. This process requires careful attention to oven setup, steam, and timing to achieve that ideal crust and tender interior.
Oven Setup and Temperature
Preheating your oven to the right temperature is crucial. For sourdough buns, a temperature of around 425°F (220°C) is recommended. Ensure your oven is preheated correctly, and consider using a baking stone or baking steel to enhance the crust.
Tip: If you have a convection oven, you can use it to bake your sourdough buns. Reduce the temperature by about 25°F (15°C) and keep an eye on the buns as they bake more evenly.
Steam Methods for Crusty Buns
Steam is essential for creating a crusty exterior. You can achieve this by using a Dutch oven, a steamer basket, or by spraying water into the oven. The steam helps to create a crispy crust and a tender interior.
Steam Injection Method: Place a pan of water on the bottom rack of your oven and preheat it. When you’re ready to bake, pour the hot water into a preheated pan or use a spray bottle to create steam.
Baking Timeline and Visual Cues
Bake your sourdough buns for about 15-20 minutes, or until they’re golden brown. The exact baking time will depend on the size of your buns and your oven’s temperature.
| Bun Size | Baking Time | Visual Cue |
| Small | 12-15 minutes | Light golden brown |
| Medium | 15-18 minutes | Golden brown |
| Large | 18-20 minutes | Dark golden brown |
Cooling and Serving
Once baked, let your sourdough buns cool on a wire rack. This helps to maintain their texture and prevents sogginess. Serve them warm or at room temperature, depending on your preference.
Mastering Advanced Sourdough Techniques
Beyond the basics, advanced sourdough techniques await to enhance your baking skills. As you become more comfortable with the fundamentals of sourdough buns recipe, it’s time to explore sophisticated methods that can elevate your homemade sourdough buns to new heights.
Understanding Fermentation Timing
One crucial aspect of advanced sourdough baking is mastering fermentation timing. The fermentation process is what gives sourdough its characteristic flavor and texture. To optimize this, bakers must understand how factors like temperature, starter activity, and dough strength influence fermentation. For instance, a longer, slower fermentation can develop more complex flavors, while a shorter fermentation might be used for a milder taste.
- Monitor your dough’s temperature and adjust your proofing environment accordingly.
- Understand the signs of over and under-fermentation to make necessary adjustments.
Creating Different Textures
The texture of your sourdough buns can vary significantly based on your techniques. To achieve a variety of textures, you can experiment with different hydration levels and proofing times. For example, a higher hydration dough can result in a more tender crumb, while a shorter proof might yield a denser bun.
Scoring and Decorating Your Buns
Scoring and decorating are not just aesthetic choices; they can also affect how your buns bake. A well-placed score can control how the bun expands in the oven, leading to a more even bake. Experiment with different scoring patterns and decorations to add a personal touch to your homemade sourdough buns.
- Use a sharp blade or razor for clean cuts.
- Experiment with various scoring patterns to find what works best for your buns.
Troubleshooting Common Sourdough Bun Problems
Making sourdough buns can be a rewarding experience, but it’s not without its challenges. Even experienced bakers encounter issues that can affect the final product’s quality. Understanding how to troubleshoot these problems is key to consistently producing high-quality sourdough buns.
Dense or Flat Buns: Causes and Solutions
Dense or flat sourdough buns can be disappointing. The causes often relate to overmixing, underproofing, or incorrect oven temperature. To avoid dense buns, ensure you’re not overmixing the dough, as this develops too much gluten. Underproofing can also lead to dense buns; make sure your dough has fermented long enough. For flat buns, check your yeast or starter’s activity and ensure your shaping technique isn’t causing tension that leads to collapse during proofing.
Crust and Texture Issues
Crust and texture issues in sourdough buns can arise from several factors, including steam levels during baking, oven temperature, and dough hydration. To achieve a crusty exterior and a tender interior, ensure you’re using the right amount of steam during the initial baking phase. Adjusting your oven temperature can also help; a hotter oven can lead to a better crust. Moreover, maintaining the right dough hydration is crucial for texture.
Flavor Adjustments
The flavor of your sourdough buns can be adjusted through several factors, including the type of flour used, the sourdough starter’s maturity, and the proofing time. Experimenting with different flours can significantly impact the flavor. A more mature sourdough starter tends to produce a tangier flavor, while a longer proofing time can deepen the flavor profile.
| Issue | Cause | Solution |
| Dense Buns | Overmixing, Underproofing | Mix dough just until combined, ensure adequate proofing time |
| Flat Buns | Inactive starter, Poor shaping | Check starter activity, improve shaping technique |
| Crust Issues | Insufficient steam, Incorrect oven temperature | Use steam during baking, adjust oven temperature |
By understanding and addressing these common issues, bakers can improve their sourdough bun recipes and techniques, leading to more consistent and delicious results.
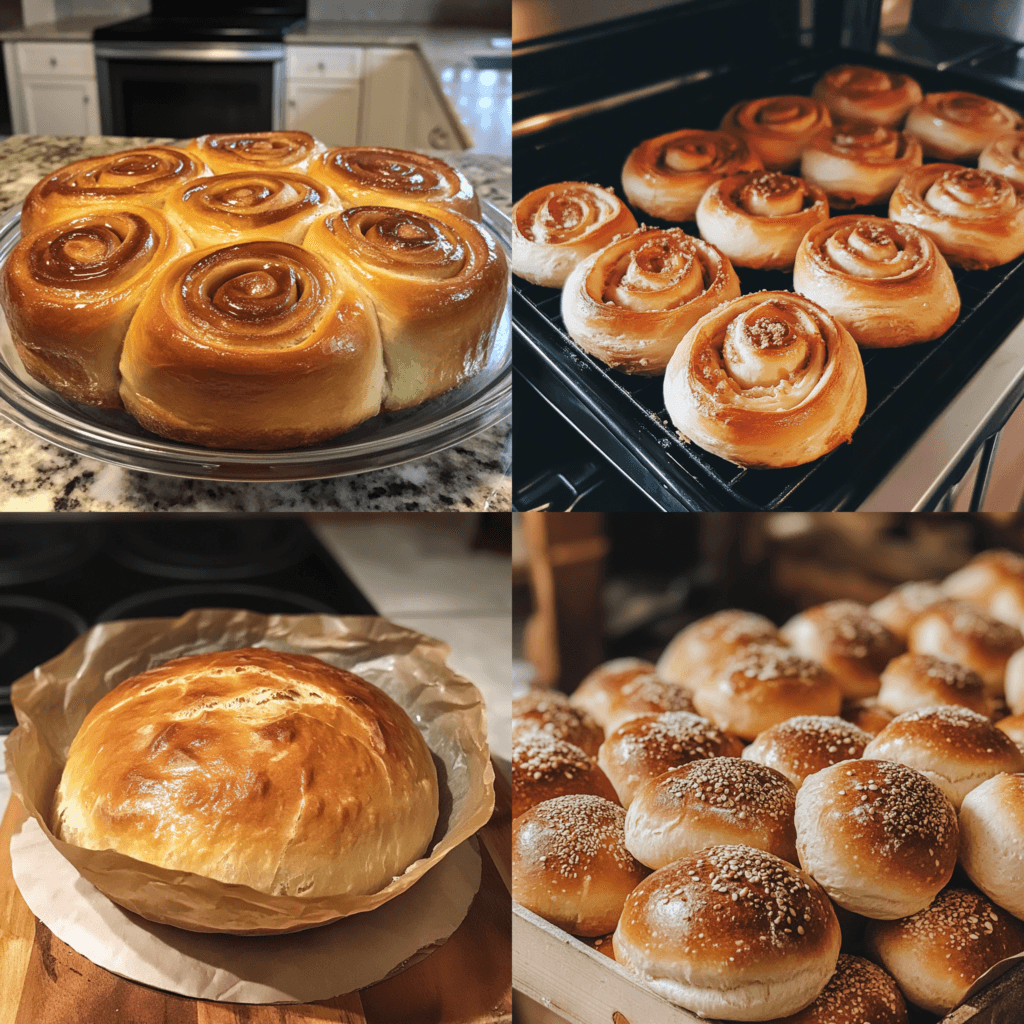
Delicious Variations of Sourdough Buns
From sweet treats to savory delights, sourdough buns can be tailored to suit any taste or occasion. The versatility of sourdough buns makes them a favorite among bakers and food enthusiasts alike. By experimenting with different ingredients and flavors, you can create a wide range of delicious variations.
Sweet Sourdough Bun Options
Sweet sourdough buns are perfect for breakfast or as a dessert. You can add ingredients like cinnamon, raisins, or chocolate chips to give them a unique flavor. Some popular sweet variations include:
- Cinnamon swirl buns
- Raisin brioche buns
- Chocolate-filled buns
These sweet treats can be enjoyed on their own or paired with a variety of toppings such as glazes or fresh fruits.
Savory Additions and Flavors
Savory sourdough buns are ideal for sandwiches or as a side to your favorite dishes. You can incorporate herbs, spices, or other savory ingredients to enhance their flavor. Some ideas include:
- Rosemary and olive oil buns
- Garlic and parmesan buns
- Sun-dried tomato buns
These savory buns can elevate your meal and provide a delicious base for various fillings.
Whole Grain and Alternative Flour Versions
For those looking for a healthier or more diverse option, whole grain and alternative flour sourdough buns are a great choice. You can use flours like whole wheat, rye, or spelt to create buns with different nutritional profiles and flavors.
| Flour Type | Flavor Profile | Nutritional Benefit |
| Whole Wheat | Nuttier and earthier | Higher in fiber |
| Rye | Darker and more robust | Rich in antioxidants |
| Spelt | Slightly sweet and nutty | Easier to digest for some |
Experimenting with different flours can add variety to your sourdough baking and cater to different dietary needs.
Storing and Refreshing Your Sourdough Buns
To enjoy your sourdough buns over a longer period, it’s crucial to store them correctly. Proper storage not only maintains freshness but also preserves the texture and flavor of your buns.
Short-term Storage Methods
For short-term storage, you can keep your sourdough buns at room temperature or in the refrigerator. At room temperature, store them in a paper bag or a bread box to maintain airflow, keeping them fresh for up to 2 days. For longer freshness, store them in the refrigerator, wrapped in a cloth or paper bag, for up to 5 days.
| Storage Method | Duration | Tips |
| Room Temperature | Up to 2 days | Use a paper bag or bread box |
| Refrigerator | Up to 5 days | Wrap in cloth or paper bag |
Freezing and Reheating Tips
For longer storage, freezing is an excellent option. Simply wrap your sourdough buns tightly in plastic wrap or aluminum foil and store them in a freezer-safe bag. When you’re ready to enjoy them, refresh your buns by baking them in a preheated oven at 350°F (175°C) for 5-10 minutes, or until they’re warmed through.
Pairing and Serving Suggestions
The art of pairing sourdough buns with the right dishes can transform your dining experience. Homemade sourdough buns are incredibly versatile, making them a perfect accompaniment to a variety of meals.
Perfect Meal Pairings
Sourdough bread buns can elevate simple meals into gourmet experiences. They pair exceptionally well with soups and stews, serving as a crusty complement to warm, comforting broths. For instance, a hearty beef stew with tender chunks of meat and vegetables is perfectly matched with the slightly tangy taste of sourdough buns.
They also complement brunch dishes nicely. Consider serving them alongside eggs benedict or as a base for breakfast sandwiches with scrambled eggs, crispy bacon, and melted cheese.
Creating Memorable Sandwiches
The tender crumb and crusty exterior of homemade sourdough buns make them an ideal base for sandwiches. For a classic combination, try filling them with slow-roasted turkey, crispy lettuce, tomato, and a dollop of mayonnaise.
For a more gourmet option, consider a sourdough bun filled with grilled chicken, avocado, and a sprinkle of red pepper flakes, all held together with a garlic aioli. As one renowned chef once said, “The right bread can make any filling taste like a masterpiece.”
“Bread is the foundation of any great meal, and sourdough buns are among the best.”
By thoughtfully pairing your sourdough buns with complementary flavors and ingredients, you can create truly memorable dining experiences.
Conclusion
With the steps outlined in this article, you’re now ready to embark on your sourdough bun baking journey. From understanding the magic of sourdough to mastering the art of shaping and baking, every step is crucial to achieving those perfect, tender, and crusty buns.
By following the sourdough buns recipe and tips provided, you’ll be able to create delicious homemade buns that are sure to impress. Don’t be discouraged by initial failures – they’re an opportunity to refine your technique and understand the nuances of sourdough baking.
As you continue to bake and experiment with different variations of the sourdough buns recipe, you’ll develop your unique style and preferences. Whether you’re making sweet or savory buns, the joy of baking lies in the process and the satisfaction of sharing your creations with others.
Sourdough Buns Recipe From DelishDish!
sourdough buns recipe
Equipment
- Large Mixing Bowl – For combining the dough ingredients.
- Measuring Cups and Spoons – To measure ingredients accurately.
- Dough Scraper or Spoon – To help mix and scrape the dough.
- Baking Sheet or Pan – To place the shaped buns for baking.
- Parchment Paper or Cooking Spray – To prevent buns from sticking to the baking sheet.
- Kitchen Towel or Plastic Wrap – To cover the dough during the rise.
- Wire Rack – For cooling the buns after baking.
- Pastry Brush (optional) – For brushing on the egg wash before baking.
- Oven – Preheated to 375°F (190°C) for baking.
Ingredients
- 1 cup (240g) sourdough discard (active or not)
- ½ cup (120 ml) warm water
- 2 tbsp (30 ml) olive oil or melted butter
- 1 tbsp (12g) sugar or honey
- 1 tsp (5g) salt
- 2 ½ cups (310g) all-purpose flour
- 1 tsp (5g) instant yeast (optional, for a faster rise)
- 1 egg (for egg wash, optional)
- Sesame seeds or poppy seeds (optional, for topping)
Instructions
- Mix the Dough:Combine sourdough discard, warm water, olive oil (or butter), sugar, and salt in a bowl. Stir in the flour and yeast (if using). Mix until dough forms.
- First Rise:Cover the bowl and let the dough rise for 4-6 hours (or overnight in the fridge) until doubled in size.
- Shape the Buns:Punch down the dough and divide it into 8-10 portions. Shape each portion into a ball and place them on a greased baking sheet.
- Second Rise:Cover the buns and let them rise for 1-2 hours until puffy.
- Prepare for Baking:Preheat the oven to 375°F (190°C). Optionally, brush the tops with egg wash and sprinkle seeds.
- Bake:Bake for 15-18 minutes until golden brown.
- Cool and Serve:Let the buns cool on a wire rack before serving.
Notes
- Use room temperature sourdough discard for best results.
- Add 1 tsp yeast for a faster rise if needed.
- Refrigerate dough overnight for better flavor.
- Store in an airtight container for up to 3 days or freeze for 1 month.

Frequently Asked Questions
What is the best type of flour to use for sourdough buns?
The best type of flour for sourdough buns is a high-protein flour, such as bread flour or all-purpose flour with a high protein content, as it provides structure and texture to the buns.
How do I maintain a healthy sourdough starter for my sourdough buns recipe?
To maintain a healthy sourdough starter, regularly feed it with fresh flour and water, store it in a cool, draft-free place, and monitor its activity and consistency.
Can I make sourdough buns without a stand mixer?
Yes, you can make sourdough buns without a stand mixer by mixing and kneading the dough by hand, although it may require more time and effort.
How long does it take to make homemade sourdough buns from scratch?
Making homemade sourdough buns from scratch can take around 12-24 hours, depending on factors like the sourdough starter’s activity, temperature, and the complexity of the recipe.
Why did my sourdough buns turn out dense or flat?
Dense or flat sourdough buns can result from overmixing the dough, insufficient proofing, or incorrect oven temperature, so check your recipe and technique to identify the cause.
Can I freeze sourdough buns, and if so, how?
Yes, you can freeze sourdough buns by cooling them completely, then placing them in a freezer-safe bag or container, and storing them in the freezer for up to 3 months.
How do I achieve a crusty exterior on my sourdough buns?
To achieve a crusty exterior on your sourdough buns, try using steam during baking, either by using a steamy oven or a baking stone with water, to create a crispy crust.
What are some variations I can try with my sourdough buns recipe?
You can experiment with various flavors and ingredients, such as whole grains, herbs, spices, or sweet ingredients like dried fruits or chocolate, to create unique sourdough bun variations.
How do I know when my sourdough buns are ready to bake?
Sourdough buns are ready to bake when they have completed their final proof, have a slightly springy texture, and have reached the desired size and shape.
Can I make easy sourdough buns without an overnight fermentation?
While traditional sourdough recipes often involve an overnight fermentation, you can adapt recipes to have a shorter fermentation time, although this may affect the flavor and texture of the buns.
Have you given our recipe a try?
There are no reviews yet. Be the first one to write one.
