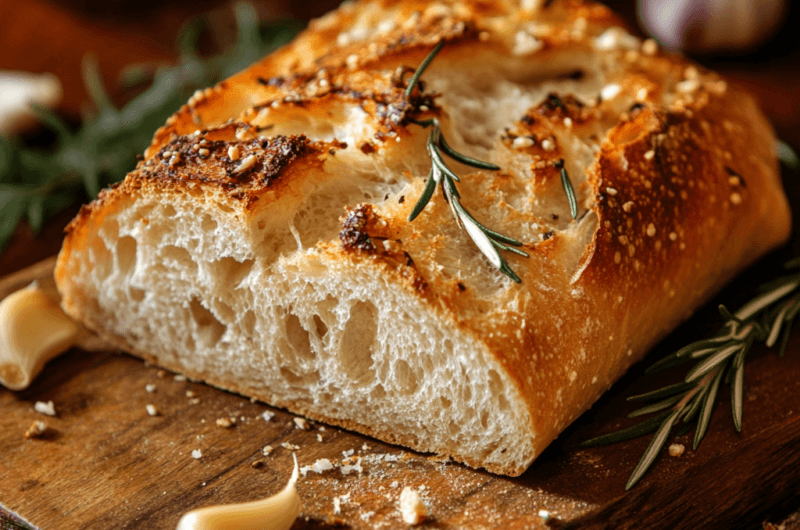
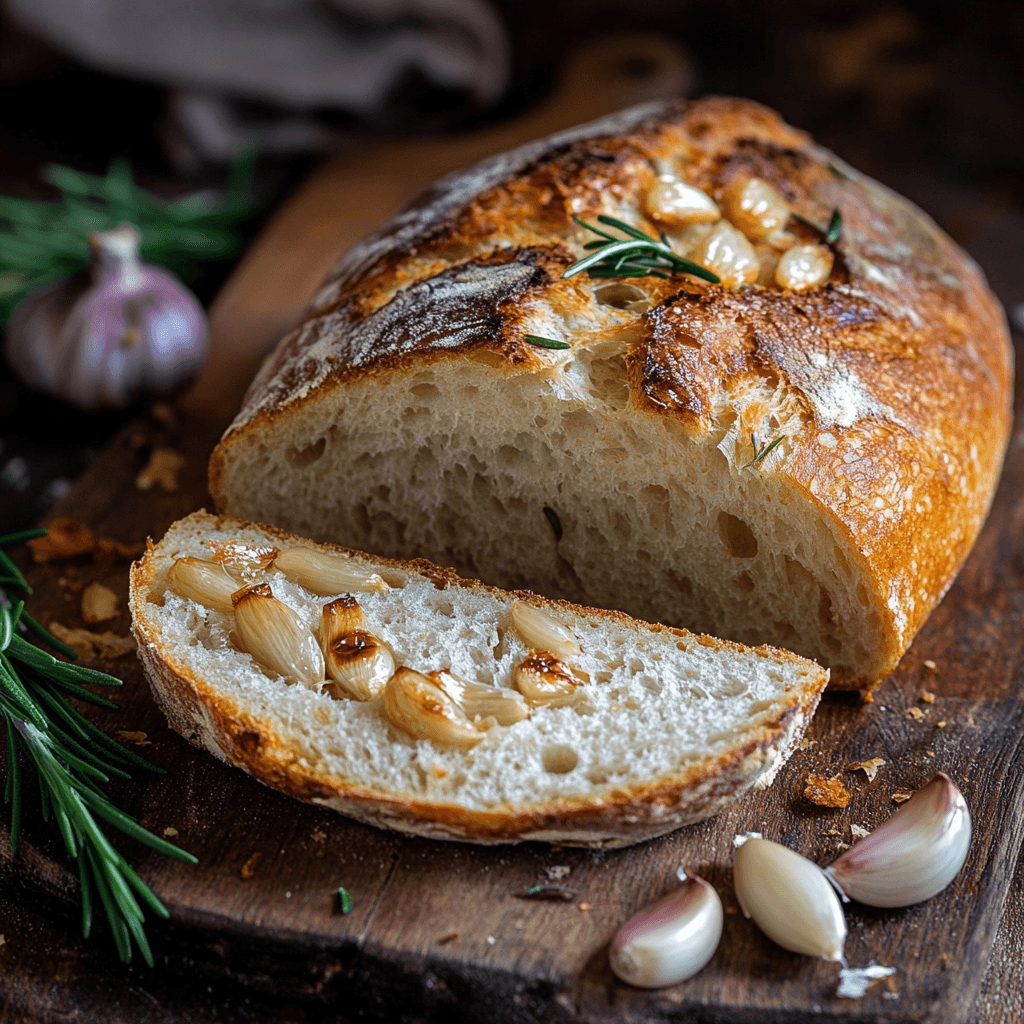
There’s something magical about the aroma of freshly baked bread—but take that experience to the next level with roasted garlic sourdough. Imagine biting into a warm, crusty slice with pockets of soft roasted garlic melting into tangy, chewy sourdough. Sounds dreamy, right? This loaf is the perfect blend of rustic comfort and bold flavor, making it a must-try for anyone who loves baking or simply loves good food.
I first fell in love with roasted garlic sourdough when a neighbor brought it to a block party. One bite and I was hooked—the garlic wasn’t harsh, but mellow and buttery, blending beautifully with the natural tang of sourdough. What makes this recipe extra special is how simple it is. With just a few ingredients and some patience, you can make bakery-quality bread right in your own kitchen.
Compared to our ever-popular Jalapeño Cheddar Sourdough, this version leans into deep, roasted flavor rather than spice, making it more versatile and family-friendly. Whether you’re new to sourdough or a seasoned starter pro, this loaf will quickly become a favorite. So grab your apron—let’s bake something unforgettable!
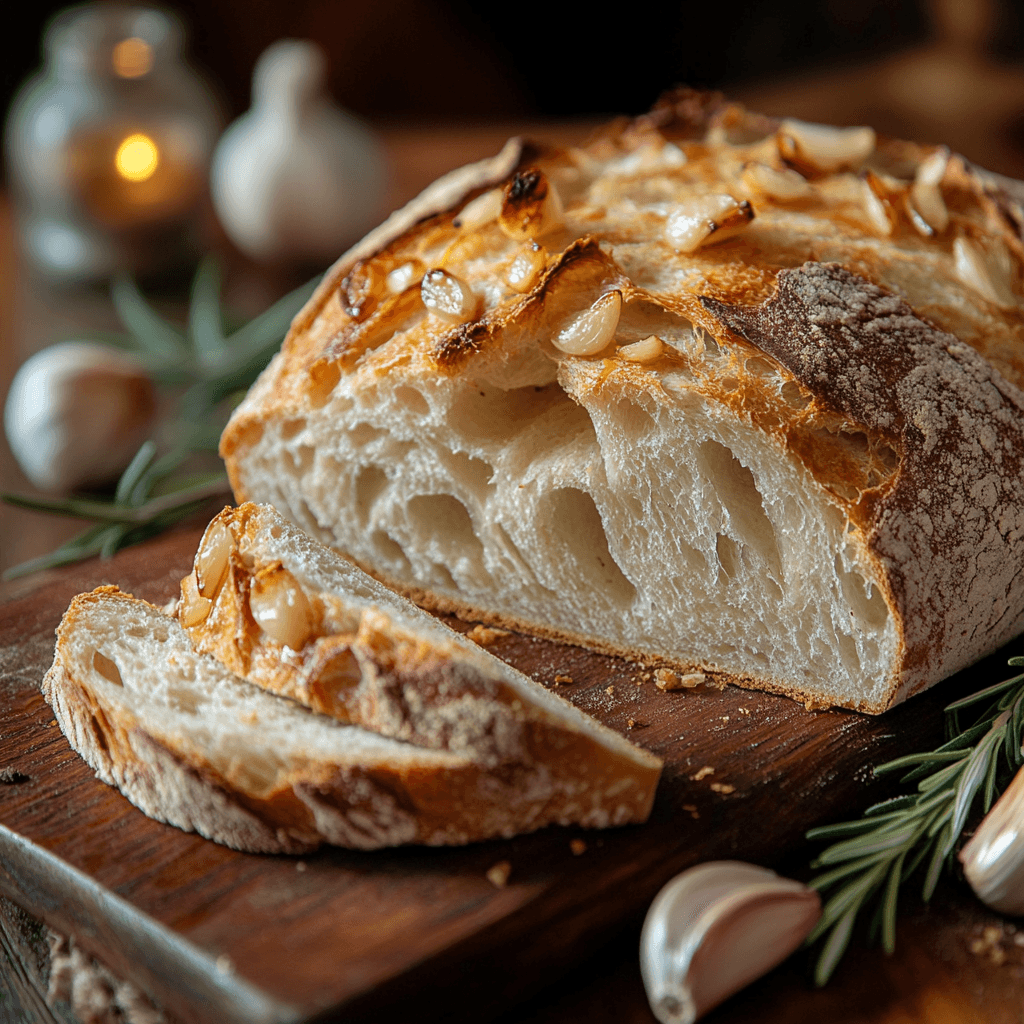
Table of Contents
What is Roasted Garlic Sourdough?
Roasted garlic sourdough? Sounds fancy, right? But don’t worry—it’s not nearly as complicated as it sounds. It’s just your classic sourdough bread, but with the flavorful twist of slow-roasted garlic mixed right into the dough. Think of it as comfort food with an upgrade.
Why roasted garlic? Because raw garlic is a little too bold (hello dragon breath), while roasted garlic turns sweet, rich, and almost buttery. Plus, let’s be honest, the way to a man’s heart is through his stomach—and this bread might just be the shortcut. The name may sound gourmet, but it’s totally doable. So why not give it a try and impress your taste buds?
Why You’ll Love This Roasted Garlic Sourdough
Unmatched Flavor: The star of the show is the roasted garlic. It infuses the entire loaf with a savory, almost creamy depth that pairs beautifully with the sour tang of the dough. Each bite is an experience!
Budget-Friendly Baking: Making roasted garlic sourdough at home is way cheaper than buying artisanal loaves from a bakery. Plus, you can control the ingredients—no additives, just good stuff.
Next-Level Ingredients: Besides the sourdough starter and flour, all you need is a head (or two) of garlic and a little olive oil. Simple, right? Yet the result tastes like something straight from a professional bakery.
If you loved our Rosemary Olive Sourdough, you’ll be obsessed with this one. It’s just as flavorful but more mellow—ideal for everyday snacking or pairing with your favorite soups and pastas. Try making it this week—you won’t regret it!
How to Make Roasted Garlic Sourdough
Quick Overview
This recipe is easy, delicious, and so satisfying. It only takes a few simple ingredients, a bit of time, and basic kitchen tools. Expect about 20 minutes of hands-on time and around 24 hours total with fermentation and baking. The roasted garlic adds richness and depth, turning your sourdough into a gourmet treat with minimal effort.
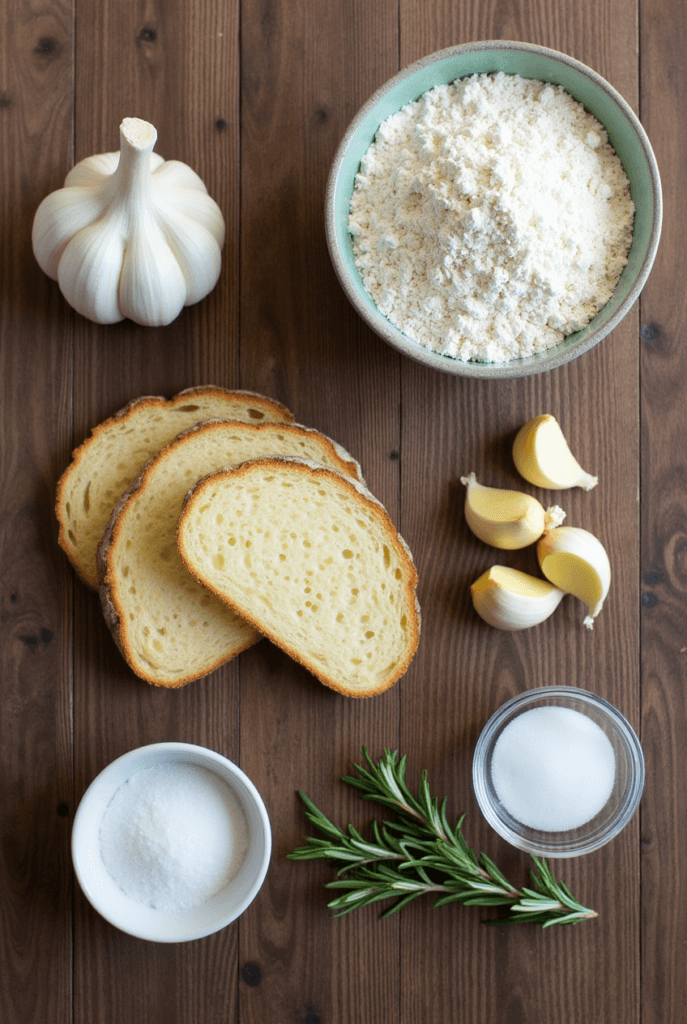
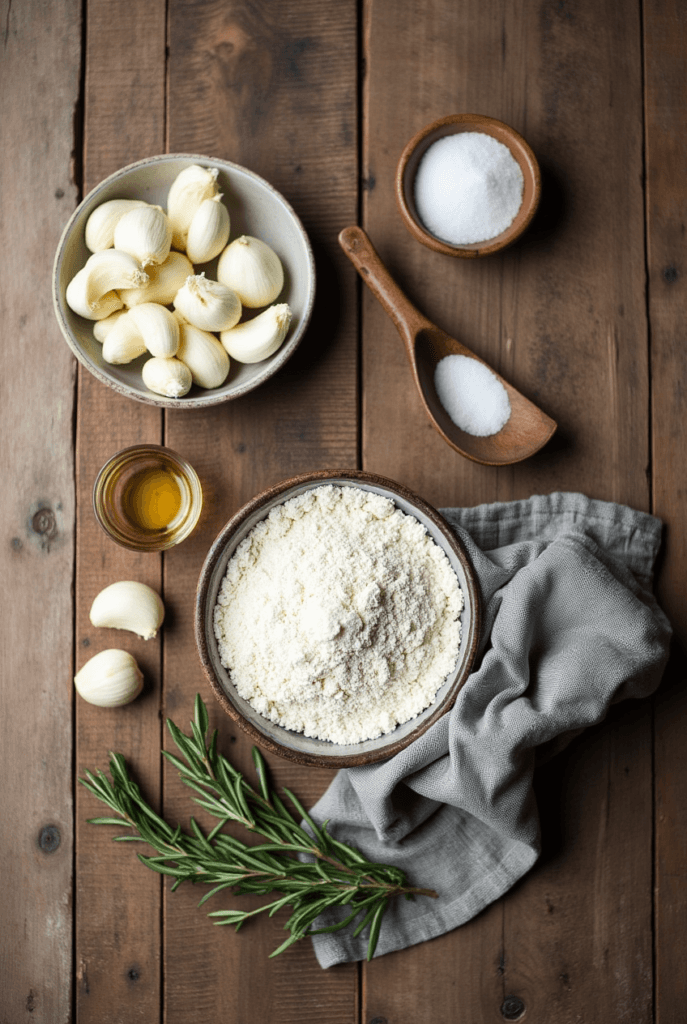
Key Ingredients for Roasted Garlic Sourdough:
- 500g bread flour
- 100g active sourdough starter
- 350g water (room temperature)
- 10g salt
- 2 whole garlic bulbs
- 1 tbsp olive oil (for roasting garlic)
Step-by-Step Instructions:
- Roast the Garlic: Preheat oven to 400°F. Slice the tops off garlic bulbs, drizzle with olive oil, wrap in foil, and roast for 40 minutes until soft and golden.
- Mix the Dough: In a large bowl, combine flour and water. Let it rest (autolyse) for 30 minutes. Add starter and salt. Mix until combined.
- Incorporate Garlic: Once garlic is cool, squeeze the cloves out and gently fold them into the dough. Be careful not to overmix so the cloves stay mostly intact.
- Stretch and Fold: Over the next 3 hours, perform 3-4 stretch and folds every 30 minutes. Cover and let the dough rise for 4-6 hours at room temp.
- Shape and Final Proof: Shape the dough into a round and place it in a floured proofing basket. Cover and refrigerate overnight for 12-16 hours.
- Bake: Preheat oven to 475°F with Dutch oven inside. Place dough in hot Dutch oven, score the top, and bake covered for 20 minutes, then uncovered for another 20-25 minutes.
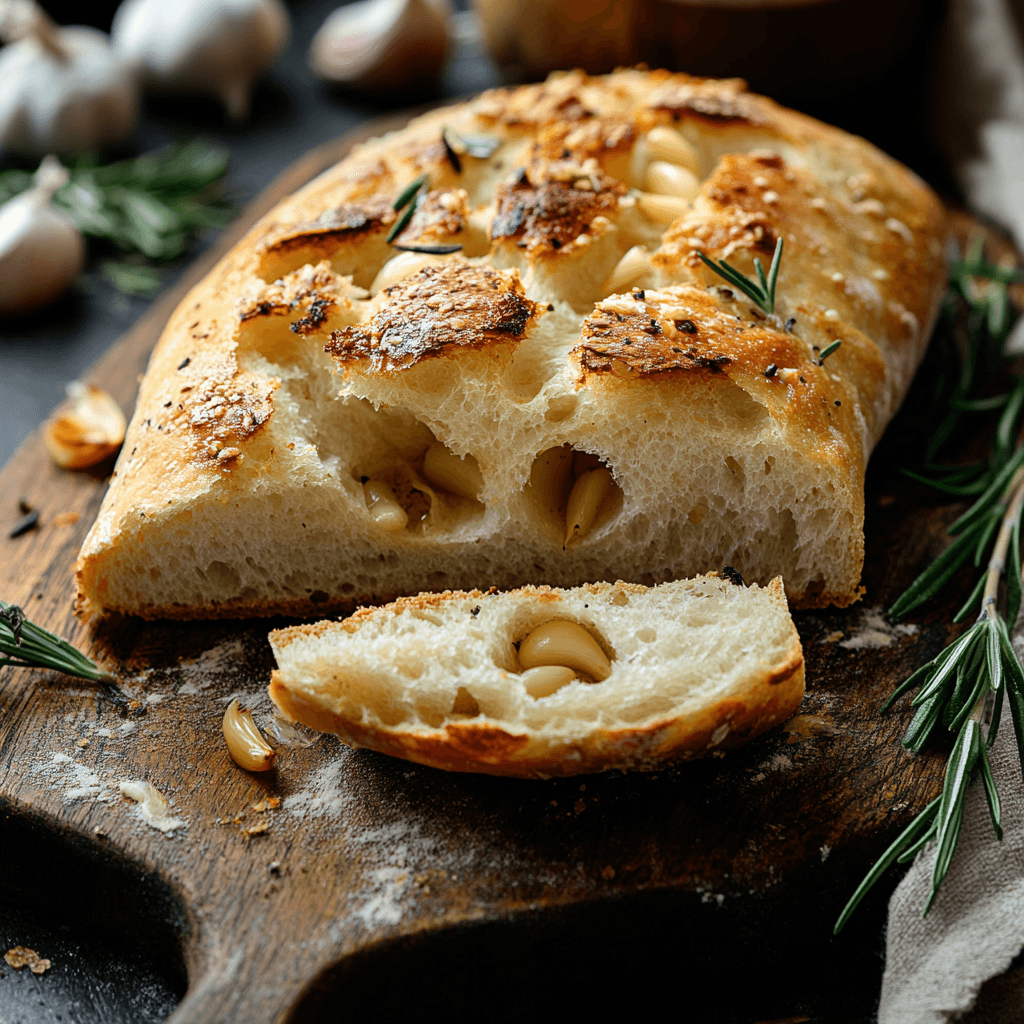
- Cool: Let the loaf cool completely before slicing. The garlic will have melted into little pockets of flavor.
What to Serve Roasted Garlic Sourdough With:
This bread is incredibly versatile. Here are a few tasty pairings:
- Creamy Tomato Soup: A match made in comfort food heaven.
- Charcuterie Board: Serve sliced with cheeses, olives, and spreads.
- Avocado Toast: Garlic + avocado = flavor explosion.
- Grilled Chicken or Pasta Dishes: Makes a hearty, flavorful side.
Top Tips for Perfecting Roasted Garlic Sourdough:
| Tip | Why It Matters |
|---|
| Use fresh garlic | Ensures sweet, rich flavor without bitterness |
| Don’t overmix garlic into dough | Keeps flavorful garlic pockets intact throughout the loaf |
| Always do a cold proof | Builds complex flavor and improves dough structure |
| Bake in a Dutch oven | Creates a crisp, artisan-style crust with a soft interior |
| Maintain a healthy starter | An active, bubbly starter gives you the best rise and flavor |
| Let bread cool completely | Enhances texture and prevents gumminess when slicing |
| Adjust hydration if needed | Slightly wetter dough makes an open crumb—just watch for handling ease |
| Use high-protein bread flour | Gives better gluten structure for that chewy, airy texture |
| Keep your workspace lightly floured | Prevents sticking without drying out the dough |
| Experiment with herbs or cheese | Try rosemary or Parmesan to build on the roasted garlic flavor |
Storing and Reheating Tips:
- Storage: Keep your loaf at room temp in a paper bag or bread box for up to 3 days.
- Refrigeration: Avoid refrigerating—it dries out the bread.
- Freezing: Wrap slices or whole loaf in plastic wrap, then foil. Freeze for up to 2 months.
- Reheating: Warm slices in a toaster or oven at 350°F for 5-7 minutes to bring back that fresh-baked feel.
Ready to fill your kitchen with the irresistible aroma of roasted garlic and fresh sourdough? This recipe is easier than it looks and twice as tasty as anything store-bought. Happy baking!
Conclusion
Roasted garlic sourdough isn’t just another homemade bread—it’s a flavorful, comforting experience that brings warmth to your kitchen and joy to your table. With just a few ingredients and five simple steps, you can create a loaf that’s bursting with rich roasted garlic and the perfect sourdough tang.
Whether you’re pairing it with your favorite soup, turning it into next-level toast, or just enjoying it fresh out of the oven with a pat of butter, this recipe is sure to become a staple. It’s budget-friendly, beginner-friendly, and oh-so delicious.
So if you’ve been looking for a way to elevate your sourdough game or impress your dinner guests with something rustic and gourmet—this is it. Give roasted garlic sourdough a try and taste the difference for yourself. Happy baking!
Roasted Garlic Sourdough: 5 Steps to Bold, Savory Flavor
Course: breadCuisine: AmericanDifficulty: Easy4
servings20
minutes1
hour150-200
kcalRoasted garlic sourdough blends savory roasted garlic with tangy sourdough for a delicious, homemade loaf. Simple to make, it’s perfect for any meal!
Ingredients
500g bread flour
100g active sourdough starter
350g water (room temperature)
10g salt
2 whole garlic bulbs
1 tbsp olive oil (for roasting garlic)
Directions
- Roast the Garlic:
Preheat the oven to 400°F (200°C). Slice the tops off both garlic bulbs, drizzle with olive oil, wrap them in foil, and roast for 40 minutes until soft and golden. Let cool. - Mix the Dough:
In a large bowl, combine the bread flour and water. Let it rest for 30 minutes (this step is called “autolyse”). Then add the sourdough starter and salt, mixing until fully incorporated. - Incorporate Roasted Garlic:
Squeeze the soft roasted garlic cloves out of their skins and fold them gently into the dough. Be careful not to overwork the dough so that the garlic stays intact and doesn’t turn to mush. - Stretch and Fold:
Over the next 3 hours, perform 3-4 stretch and folds at 30-minute intervals. After each stretch and fold, cover the dough and let it rise at room temperature for about 4-6 hours. - Shape and Proof:
Shape the dough into a round loaf and place it in a well-floured proofing basket. Cover and refrigerate overnight for 12-16 hours for the final proof. - Preheat and Bake:
Preheat your oven to 475°F (245°C) with a Dutch oven inside. Once heated, carefully transfer the dough to the hot Dutch oven, score the top, and cover. Bake for 20 minutes. Then uncover and bake for another 20-25 minutes until the bread is golden brown and sounds hollow when tapped. - Cool and Slice:
Let the bread cool completely before slicing to avoid gummy crumbs. The roasted garlic will have melted into the dough, making each slice a savory delight. 
Notes
- Simple ingredients make it easy to prepare with items most bakers already have on hand.
Roasted garlic gives a rich, buttery flavor without being overpowering.
The bread has an incredible texture: chewy, tangy, with a crispy crust.
It’s more affordable than buying artisanal sourdough from bakeries.
Can be easily paired with a variety of dishes like soups, meats, or cheeses.
FAQs : Roasted Garlic Sourdough
1. How long does it take to make Roasted Garlic Sourdough?
It takes about 24 hours to make this bread, including fermentation and proofing time. However, most of the time is hands-off, so you can go about your day while the dough rises!
2. Can I use store-bought garlic instead of roasting my own?
While you can use raw garlic, roasting garlic gives it a sweet, mellow flavor that complements the tangy sourdough perfectly. For best results, we recommend roasting your garlic.
3. Can I make Roasted Garlic Sourdough without a sourdough starter?
Unfortunately, you need an active sourdough starter to make this recipe. If you don’t have one, you can easily make your own starter or buy one from a bakery.
4. How do I store leftover Roasted Garlic Sourdough?
Store leftover sourdough in a paper bag or bread box at room temperature for up to 3 days. For longer storage, slice and freeze the bread for up to 2 months.
5. Can I add other herbs or cheese to the bread?
Absolutely! Feel free to experiment with adding herbs like rosemary or thyme, or even some grated Parmesan for extra flavor.
