There’s something magical about biting into a creamy, chocolate-covered ice cream bar on a warm day—or any day, really. This Homemade Eskimo Pie Recipe brings back childhood memories with its smooth vanilla center and crispy chocolate shell. It’s nostalgic, delightful, and just the right amount of indulgent.
Did you know that the original Eskimo Pie was invented over 100 years ago? Yep, it all started in 1920 with a schoolteacher’s idea to combine chocolate and vanilla ice cream in one irresistible bar—and the rest is dessert history. Recreating this treat at home is not only satisfying but also surprisingly easy and fun.
What makes this version so special? For starters, it’s made with everyday ingredients you probably already have. Plus, it’s more cost-effective and customizable than store-bought options. Whether you’re serving them at a summer BBQ or keeping a stash in the freezer for late-night cravings, this recipe is sure to be a hit with the whole family.
If you’re a fan of our Homemade Drumstick Ice Cream Cones, you’re going to love this one even more. Let’s dive into this irresistible frozen dessert adventure—your sweet tooth will thank you!
Table of Contents
What is a Homemade Eskimo Pie?
Why is it called an Eskimo Pie, you ask? Well, it’s not because it’s made in the Arctic! The name was inspired by the icy-cold vibe of the treat and the clever marketing of the 1920s. And while the name might raise a few eyebrows today, one thing is certain—“the way to a man’s heart is through his stomach”, and this dessert is proof.
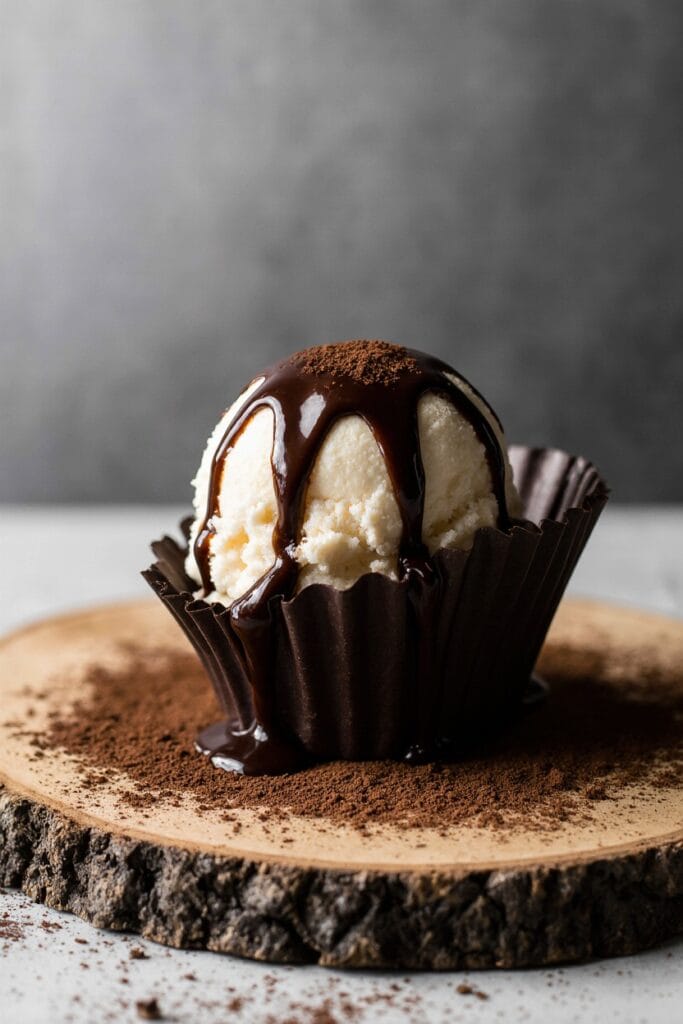
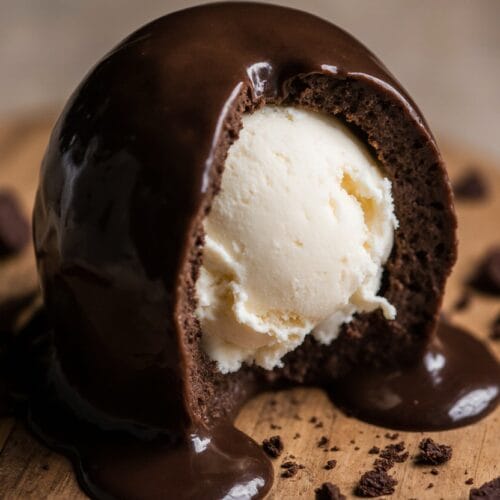
Basically, it’s a rectangular vanilla ice cream bar coated in a crisp layer of chocolate. Simple? Yes. Legendary? Absolutely. Imagine the satisfying crack of the chocolate as you take that first bite. Hungry yet? Good—because you’re about to discover just how easy it is to make these at home.
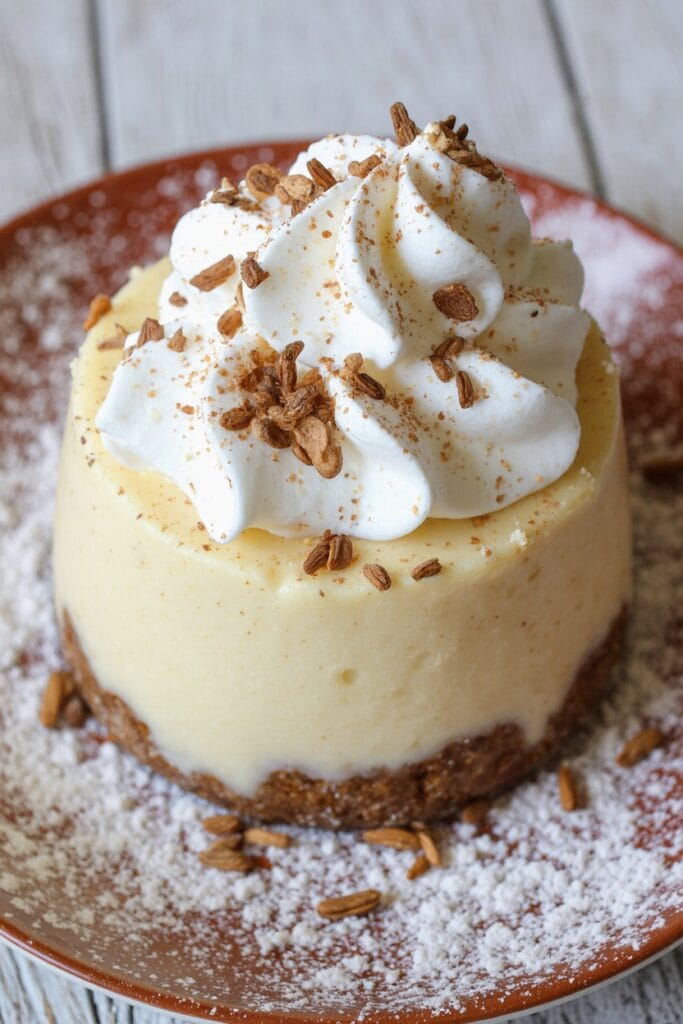
Why You’ll Love This Homemade Eskimo Pie Recipe
1. Classic Flavor with a Homemade Twist
There’s something deeply comforting about the rich vanilla center and snappy chocolate coating. Homemade versions give you full control—make it creamier, add a pinch of sea salt, or use premium chocolate for an elevated touch.
2. Save Money, Eat More
Buying individual novelty ice cream bars can get expensive fast. This recipe lets you whip up a big batch at a fraction of the cost. Plus, you get to skip preservatives and mystery ingredients.
3. Deliciously Customizable
Try dipping them in white chocolate or adding crushed nuts, sprinkles, or even a caramel swirl inside. It’s your frozen canvas, and the flavor combinations are endless.
If you liked our Chocolate-Dipped Banana Pops, this recipe takes the idea to the next level—more indulgent, more fun, and just as freezer-friendly. Time to grab those popsicle molds and start creating!
How to Make Homemade Eskimo Pie
Quick Overview
This dessert is quick to assemble and packed with creamy, chocolaty goodness. You only need a few simple ingredients, and with just a little prep and freezer time, you’ll be biting into the best Homemade Eskimo Pie you’ve ever had. Prep time is around 20 minutes, with several hours for freezing.
Key Ingredients for Homemade Eskimo Pie Recipe
(Replace with your own image)
- 2 cups vanilla ice cream (softened slightly)
- 1 ½ cups semi-sweet chocolate chips
- 3 tbsp coconut oil (for smooth melting)
- Optional toppings: chopped nuts, sprinkles, shredded coconut
Equipment you’ll need:
Ice cream molds or small loaf pan, parchment paper, mixing bowl, spoon, saucepan
Step-by-Step Instructions
- Prepare the Molds
Line your molds or loaf pan with parchment paper. Scoop softened ice cream into molds and smooth the top with a spatula. Freeze for 2–3 hours, or until completely solid. - Melt the Chocolate
In a saucepan over low heat, melt chocolate chips and coconut oil together until smooth. Let it cool for a minute—you don’t want to melt your ice cream too quickly. - Unmold and Dip
Remove the frozen ice cream bars from the molds. Quickly dip each bar into the melted chocolate and allow the excess to drip off. The shell will harden within seconds. - Add Toppings (Optional)
While the chocolate is still wet, sprinkle on your toppings of choice. - Final Freeze
Place dipped bars on a tray lined with parchment paper. Freeze for another 30 minutes to set fully. - Serve & Enjoy!
Grab, bite, and smile.
What to Serve Homemade Eskimo Pie With
While these bars are perfect on their own, consider pairing them with:
- Iced coffee or cold brew for a cool contrast
- Fresh berries for a fruity twist
- Mini brownie bites to double up on the dessert fun
- Milkshakes for the ultimate indulgent combo
Planning a party? Set up a DIY Eskimo Pie station with different toppings—fun for kids and adults alike!
Top Tips for Perfecting Homemade Eskimo Pie
Use Quality Ice Cream
Choose a rich, creamy brand with minimal air for best texture. Or make your own no-churn vanilla ice cream.
Chill Everything
Keep your chocolate slightly cool and work in a cold kitchen if possible. The colder your ice cream, the smoother the chocolate shell.
Work Fast
Once out of the mold, move quickly. Ice cream melts fast, and dipping goes best when everything is prepped in advance.
Ingredient Substitutions
- No coconut oil? Use vegetable shortening or butter.
- Dairy-free? Use a coconut milk-based ice cream and dairy-free chocolate.
Common Mistakes to Avoid
- Don’t use overly melted ice cream—it won’t hold shape.
- Avoid overheating chocolate. Use low heat and stir constantly.
Storing and Reheating Tips
How to Store
- Refrigerator: Not recommended—will melt quickly.
- Freezer: Place pies in a sealed container with parchment between each bar to avoid sticking.
Shelf Life
- Best enjoyed within 2 weeks.
- Flavor and texture hold up beautifully if stored properly.
How to Reheat
Okay, this is a frozen dessert—you don’t reheat it! But if it gets too hard, let it sit out for 2–3 minutes before biting into bliss.
Health Benefits of Homemade Eskimo Pie Recipe
| Nutrient/Aspect | Benefits |
|---|---|
| Calcium | Supports strong bones and teeth |
| Antioxidants (chocolate) | May reduce inflammation and support heart health |
| Customizable Ingredients | Control sugar and dairy content as needed |
| No Preservatives | Fresher and cleaner than store-bought versions |
Conclusion
There’s something genuinely rewarding about making your own frozen treats, and this Homemade Eskimo Pie Recipe is proof that the best desserts don’t need to be complicated. With just a few ingredients and a bit of patience, you’ll have a freezer full of nostalgic, crowd-pleasing bars that rival any store-bought version.
So whether you’re looking to relive sweet childhood memories or create new ones with your kids, now is the perfect time to try this recipe. Don’t forget to tag us on Instagram or comment below with your favorite toppings!
Craving more frozen fun? Check out our Ice Cream Sandwich Cake and Chocolate-Dipped Banana Pops next!
Homemade Eskimo Pie Recipe
Equipment
- Silicone popsicle molds or small loaf pan
- Parchment paper
- Ice cream scoop
- Microwave-safe bowl
- Spatula or spoon
- Freezer-safe container
- Optional: Popsicle sticks
Ingredients
- 3 cups vanilla ice cream slightly softened
- 1 ½ cups semi-sweet chocolate chips
- 2 tablespoons coconut oil refined or unrefined
- Optional toppings:
- Chopped peanuts or almonds
- Sprinkles
- Crushed Oreos
- Shredded coconut
Instructions
- Prepare Molds or Tray
- Line a small loaf pan with parchment paper or lightly grease your popsicle molds.
- Fill with Ice Cream
- Scoop softened vanilla ice cream into molds or tray, pressing down to eliminate air pockets. Smooth the surface and insert popsicle sticks if using. Freeze for at least 3–4 hours until solid.
- Make the Chocolate Coating
- In a microwave-safe bowl, combine chocolate chips and coconut oil. Microwave in 20-second bursts, stirring between each, until fully melted and smooth.
- Unmold and Dip
- Remove ice cream bars from molds or slice into bars if using a loaf pan. Quickly dip each bar into the melted chocolate, letting excess drip off.
- Add Optional Toppings
- While the chocolate is still wet, sprinkle with desired toppings. Place bars on a parchment-lined tray.
- Freeze Until Set
- Return the dipped bars to the freezer for 10–15 minutes or until the chocolate is completely hardened.
- Serve and Enjoy!
- Eat immediately or store for later enjoyment.
